There’s something whimsically magical about soap bubbles. Their delicate, floating presence and the way they shimmer with iridescent colors — but there’s also a surprising amount of science behind soap bubbles. And if that’s not intriguing enough, by the end of this post, you’ll also learn how to create your very own frozen soap bubbles.
What makes a soap bubble
A soap bubble might seem like a simple plaything, but it’s a complex structure. At its heart, a bubble consists of a thin film of water, trapped between two layers of soap molecules. The soap molecules are amphiphilic – meaning they have one end that’s attracted to water (hydrophilic) and another that repels water (hydrophobic). This unique arrangement creates a stable structure where the hydrophilic heads are in contact with water, and the hydrophobic tails stick outwards, preventing the water from evaporating quickly and stabilizing the bubble.
The key to bubble formation is surface tension. Water molecules naturally attract each other, creating a tight, cohesive surface. However, the addition of soap decreases this surface tension, allowing the water to stretch more easily into a bubble. The soap molecules arrange themselves at the surface, reducing the cohesive forces between water molecules and stabilizing the bubble.
But what about frozen soap bubbles?

Frozen soap bubbles
When temperatures drop below freezing, soap bubbles enter a fascinating phase.
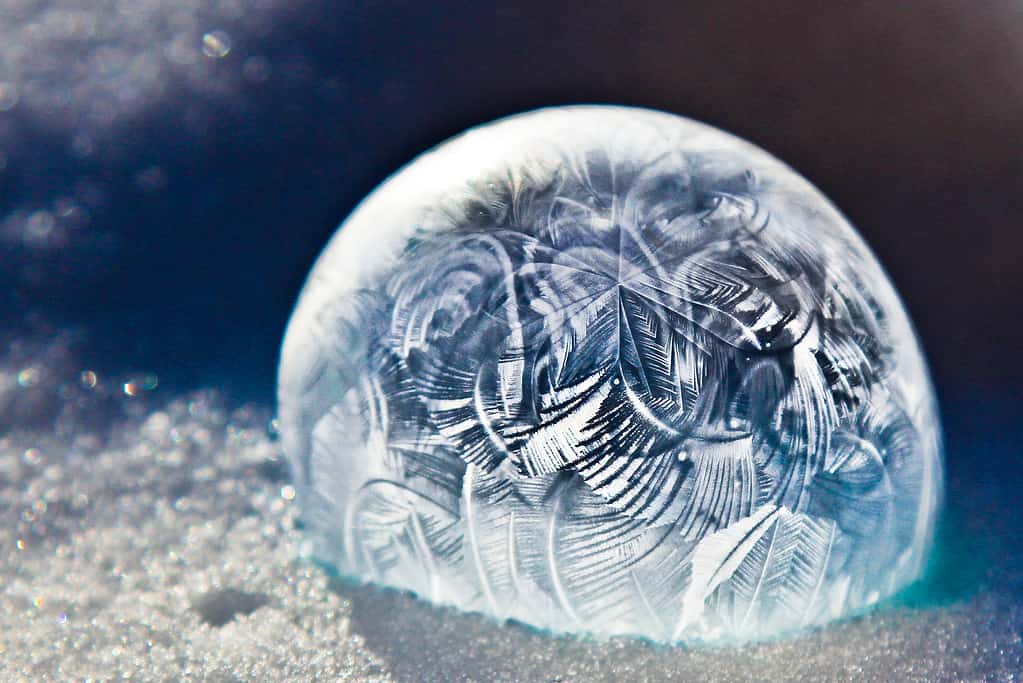
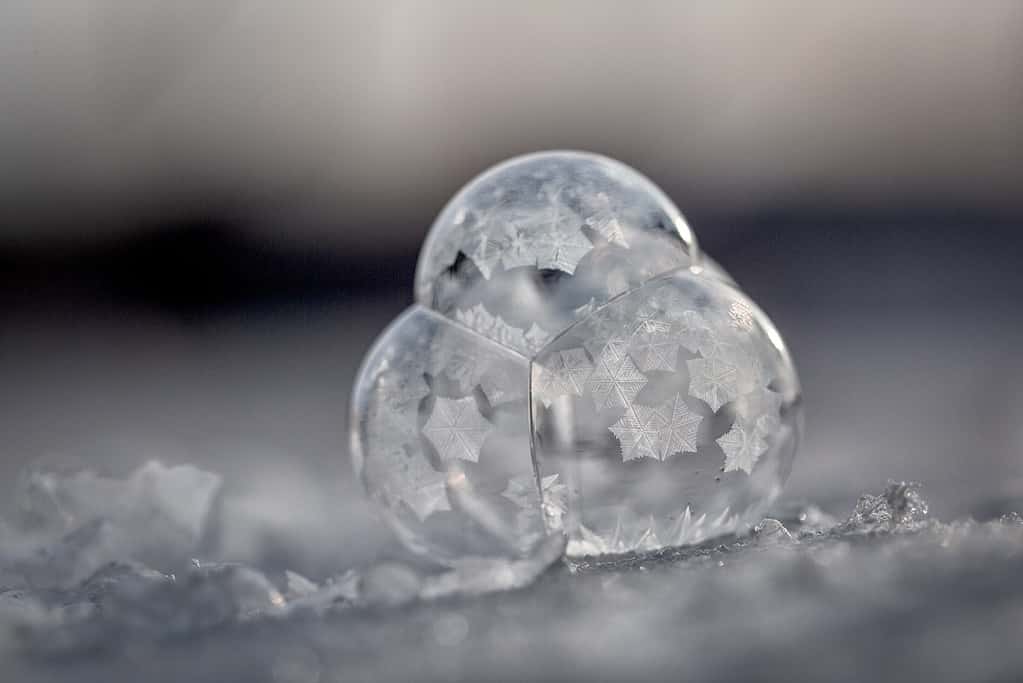
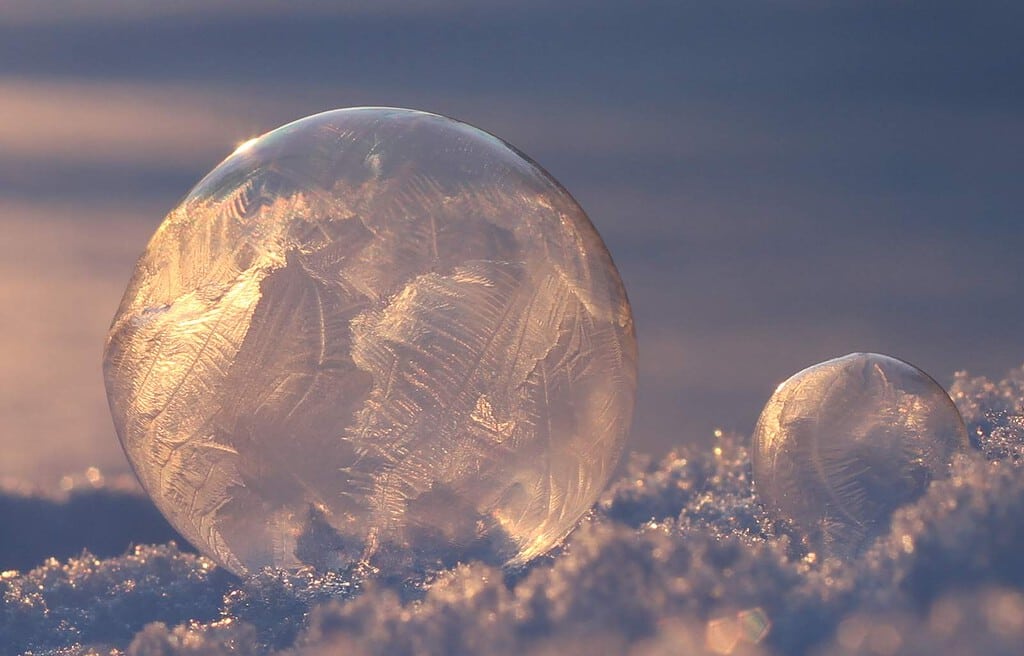
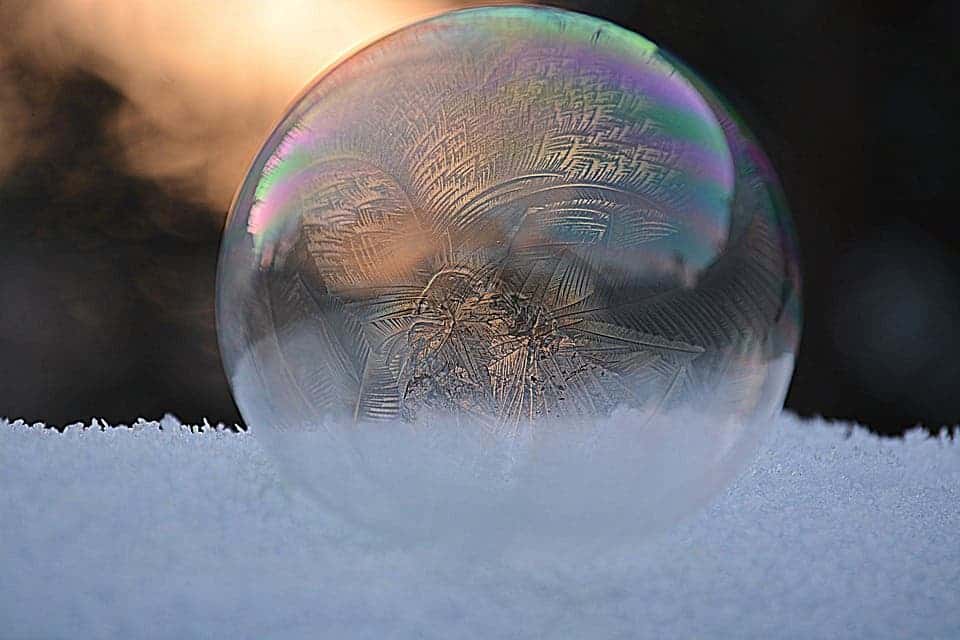
The liquid film of a soap bubble begins to freeze, starting from the outside and working inwards. This freezing process creates a stunning pattern of ice crystals that can be seen forming in real-time. The intricate designs are a result of the water molecules arranging themselves in a crystalline structure at freezing temperatures. The presence of impurities and variations in temperature and humidity can influence the pattern and speed of the crystallization, making each frozen bubble unique.

The soap in the bubble plays a crucial role. It lowers the freezing point of water, meaning the water in the soap film can remain liquid at temperatures where pure water would freeze. This supercooled state is unstable, and any disturbance can trigger the rapid formation of ice crystals. The soap also affects the pattern of the ice crystals, leading to the unique, feathery patterns we see in frozen bubbles.
Make your own frozen soap bubbles

Various factors influence the pattern and speed of the freezing process. Temperature is the most obvious; the colder it is, the faster the bubble will freeze. Humidity also plays a part – lower humidity can lead to quicker evaporation of the water in the soap film, affecting the freezing process. Wind can disturb the bubble, altering the pattern of ice crystal formation. But with a bit of care, you can manufacture your own frozen soap bubbles. Here’s how.
- Ingredients: Use a standard soap bubble solution, which can be made by mixing dish soap and water. Adding glycerin or corn syrup can help make the bubbles more durable. For instance, a common recipe uses 3 cups of water, 1 cup of dish soap and 1/2 cup of corn syrup.
- Chill your mix: Don’t freeze your mix, but chill it to only a few degrees (in the fridge).
- Best Conditions: Look for a day when the temperature is way below 0°C (32°F), ideally without wind. This works best at temperatures around -20°C (-4°F)
- Blowing the Bubbles: Use a bubble wand or a straw to blow the bubbles. You can either blow them into the air or onto a cold surface like snow.
- Observation: Watch as the bubbles begin to freeze. The crystallization process can create captivating patterns, offering a great opportunity for photography.
- Tips for Success: Experiment with different bubble recipes for varying effects. The right mix can result in stronger, more visually intricate frozen bubbles.
[This article is over 10 years old and has been republished from the ZME Science archive]


