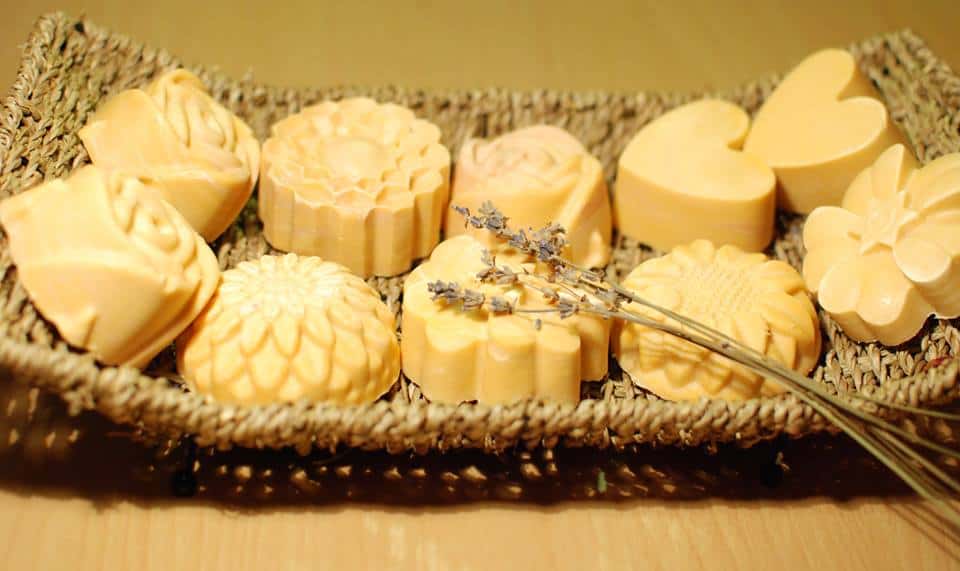
For thousands of years, soap making has been an important part of human civilization, and for good reason. From the ancient Phoenicians who crafted soap from ash to the modern-day hobbyists who craft their own blends of soap, the art and science of soap making has been a constantly rewarding (and important) endeavor. With only a few simple ingredients and a bit of creativity, anyone can make soap that is not only effective but also luxurious.
Making soap at home is a process, but it’s one that can be worthwhile. It allows you to control the quality of the ingredients you use and customize your desired product. You can experiment with different scents, colors, and textures; you can mix different scents, consistencies, and materials. It gives you a sense of satisfaction and accomplishment as you create something with your own two hands.
But there’s more to soap making than just aesthetics — soap making offers a glimpse into the world of chemistry and hygiene in your very home. Join us on a journey to discover the science and art behind soap making — from the raw materials to the chemical reactions, we’ll explore the fascinating world of soap and why you should consider making your own.
For most people, soap is merely a tool to get rid of the bacteria on your skin, but for others, it can be a way of expressing their artistic views. Whatever your reasons are, I bet you wondered at least once how it’s made, or if you can make your own soap.
As it turns out, you don’t have to be a scientist to start making your own soap, even though it requires some minimum knowledge of basic chemistry; don’t worry, we said basic — and we’ll go through it all. In fact, soap making is one of those science experiments you can do at home that will almost always work if you pay attention.
If you are careful and prepared, the process of creating a soap bar can be really fun and allow you to use your imagination. But if you don’t follow the instructions it can also be quite dangerous. This is why you need to fully understand what soap actually means and make sure you have everything you need.
History of soap making

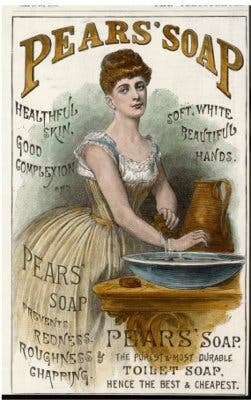
Firstly I think you might want to know a little bit about the history of the soap making. This hygiene product is so common nowadays that we don’t even imagine life without it. But who invented it?
The first evidence of soap usage dates from 2800 BC, in Babylon, where they used a combination of alkali salts and cassia oil (or Chinese cinnamon tree) for cleaning usage. The ancient Egyptians were also using a mixture of animal or vegetable oils and alkali salts, to bathe themselves.
In some other parts of the world, like the Middle East, they were mixing ash and vegetable oils in order to clean their clothes while in Europe the soap-making industry flourished in the Medieval times when Spanish and French soap makers were the leaders back then in this “industry”.
What is soap, actually?
Technically, soap is a mixture of alkali salts (or lye) and vegetable or animal oils. This is essentially what soap is. Of course, you can add different compounds and tweak it based on your preference, but the gist of soap is that simple mixture.
The chemical reaction between lye (sodium hydroxide) and oils is called saponification. From this reaction the glycerol or glycerin results, and, of course, the solid soap is the final product. Basically, you just need two ingredients lye (sodium hydroxide and water) and oils.
But isn’t glycerin an explosive?
If you’ve watched Fight Club and paid attention to the details, you may have pieced together the fact that glycerin is indeed used for producing the nitroglycerine which is used in general for dynamite and other explosives — but rest assured, the glycerin in soaps is as safe as it can be. Plus, it also has the role of a softening agent.
What about the sodium hydroxide, isn’t that toxic to your skin?
Oh well, the answer is: YES it is, but after the reaction between the lye and the oils is finished you won’t even have a drop of sodium hydroxide in your soap bar, otherwise the reaction won’t fully take place and it wouldn’t transform into soap.
The sodium hydroxide itself is very dangerous for the skin (it can actually cause serious burns and injuries if it is not properly used) and it’s usually used for cleaning pipes, some pottery, and sometimes even in the food industry, but this is another story.
Soap making processes
OK, so, let’s do this. There are three ways you can make your own soap:
1. The Cold proccess
2. Hot process
3. Melt and pour
Hot process is the most used one for ages because it is a very simple way of making soap and you don’t really have to worry about the amount of ingredients. It is named “hot process” because you use heat in order to finish the reaction between the ingredients. The soap can be used the day after it was made, but it is recommended to let it settle down for about one week before using it, for safety reasons.
Cold process is also preferred by many home-made soap makers because it’s actually faster and the smells and scents of your soap won’t be affected as much as they would when you use high temperatures. As you’ve already guessed maybe, it’s called “cold process” because you don’t need heat to finish the reaction. With the cold process you have to be really careful with the amount of ingredients and temperatures you use (told you, chemistry), and the soap that results should be used only after a month or two depending on the ingredients you’ve used.
Melt and pour is also a process preferred by many because of its simplicity. For this process, you have to buy a soap base, or make it your own, which usually has no scents or color. What you have to do is melt the soap bar, add some colorants and scents, and voilà, you have a soap half-made by you actually.
The equipment you need to start making soap
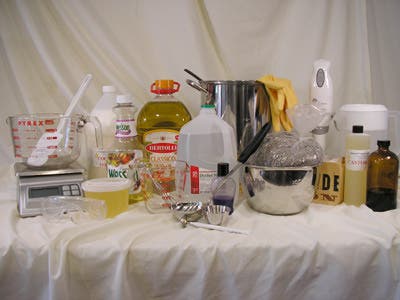
Before making your own homemade soap, be sure you have everything you need in order to start the process. Depending on the process you might need different types of equipment. The most important equipment is the safety gear. You need protection goggles, face/mouth mask, latex/rubber gloves, an overall to protect your clothes, and some boots. Yes, you will look like someone that went to Chornobyl, but this way you will keep yourself away from some unwanted burns and other accidents.
The next step is to prepare the equipment needed for soap making. The most useful thing is the stick blender. It is usually not recommended to use the same one you use for the food, but don’t worry, you don’t need a very powerful one, a cheap one can do the job you need.
You will also need an accurate weighing scale (a small kitchen one would be great) and a thermometer. These items you will need most for the cold process because you have to be really careful with your quantities and the thermometer will help you know when to mix the two solutions (lye and oils).
- Stainless steel containers. It can be like a pot or a big bowl, but be sure they are stainless steel otherwise you will create unwanted reactions.
- A rubber/silicone spatula, which will be used to pour the soap into your molds and a stainless steel/wood spatula to help you mix the ingredients at first.
- Silicone/wood molds. You can use the silicone molds that are usually used for cupcakes or just cakes in general (it is wiser not to use them for both soap and cookies).
- A crock-pot will only be used for the hot process, because of course you need the heat to create the reaction between the ingredients in order to make the soap but you don’t want to burn your soap with a normal pot. For the cold process, a crock-pot is also useful but you can also improvise one because you will need it only for a very short amount of time. You need two stainless steel containers of different dimensions. You fill the big one with water and put the smaller one above, so all the vapors from the water will heat your oils (you don’t want to fry your oils, you just want to heat them a little bit until they melt).
Ingredients required for making soap
The most important ingredient is of course the safety ingredient that you will have to keep close to yourself in case of anything happens: a bottle of vinegar. The quality doesn’t matter, you just need something that is acidic to neutralise the lye if it gets on your skin. DON’T USE WATER if the lye ends up on your skin, because you will only exacerbate the reaction and you’ll get serious skin damage and burns.
Let’s get to the fun part. Because there is no soap without lye, the first ingredient needed in order to make your soap for the cold and hot processes is the mixture of pre-measured quantities of water and Sodium Hydroxide. The water can also be tea, distilled water, or even ice.
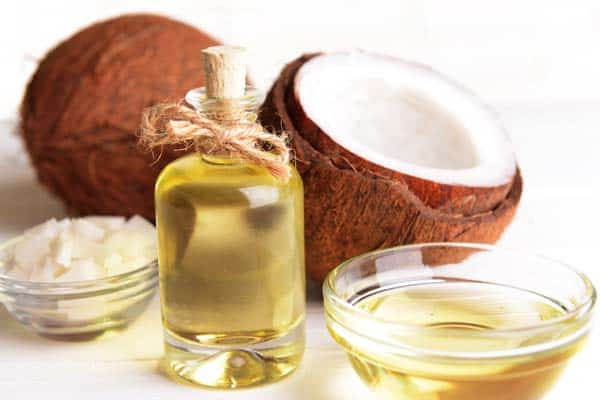
Because without them we won’t have a soap bar, we need the fats. You can actually use every type of fat you want (not those used for cars or engines, heh); from the most common vegetable oils like olive oil, sunflower oil, and coconut oil to vegetable natural butter like cocoa butter, shea butter, etc. For the cold process, it is very important to use very good quality oils otherwise you won’t get that pleasant fresh soap smell.
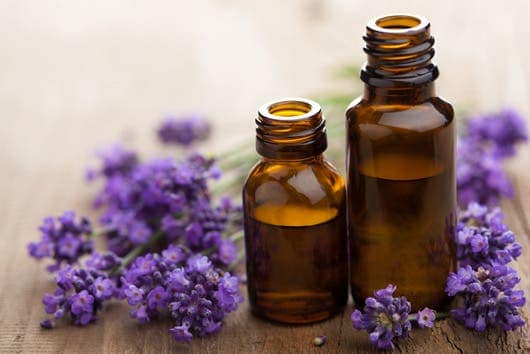
You need essential oils. The variety is so large here, from lavender and orange essential oil to eucalyptus and tea tree, you can choose whatever you want your soap to smell like – go crazy!
As an extra, you can use some natural scrubbing agents like coffee grounds, or bran, and you can add coloring agents. It is usually safer to use alimentary ones in small quantities or mineral coloring powders used usually for make-up. And of course, you can put some small dried plants for a scrubbing effect or just because it looks nice.
The greatest thing about experimenting to make your very own all-natural and organic soap is that you can use any kind of oil and fats according to your own skin preferences and needs. For instance, if you intend to reduce the size of inflamed pimples or eye bags, go with castor oil, as you can benefit from its anti-inflammatory properties.
Another creamy and fatty ingredient that you can use is goat milk. It is high in Vitamin A which is great for repairing skin tissues. In case you decide to go with goat milk, make sure to freeze it, getting it very cold isn’t good enough, it needs to be frozen.
Goat milk has a lot of cream in it and equates to a creamier soap that offers better moisturizing qualities. It is due to its amazing healing qualities that goat milk skincare products have become increasingly popular especially among people who suffer from overly dehydrated skin issues like eczema.
The cold process of making soap
Because it is the most complex and it is the basis of all processes, we will discuss the cold process in most detail.
For the cold process, you have to be aware of the fact that you should weigh all of your ingredients and be careful with the temperatures (see tips).
- Step 1. Be sure that you will start making your soap in a well-ventilated room, and that the table you’re going to work on is free of anything that you don’t need for your process and clean. Put away anything that you don’t need or might annoy you in the process.
- Step 2. Prepare your safety equipment and wear it!
- Step 3. Prepare all of your other equipment (the stick blender, containers etc.) and make sure that they are all clean and ready to use.
- Step 4. If it is your first time, or you just don’t know how to measure the ingredients, use soap calc, which will generate your own recipe and you will know what amount of each ingredient to use in order to come up with a successful result.
- Step 5. After you have the recipe down start weighing all of your ingredients and remove from your table everything you don’t need anymore.
- Step 6.1. It’s time to start the real science experiment. You will have to mix the amounts of pre-measured water and sodium hydroxide. BE CAREFUL!! Always pour your sodium hydroxide into water, never the water on the hydroxide otherwise you risk serious damages and burns to your skin because of the reaction between the ingredients the temperature will get kind of high. Also be careful with the vapours that result from the reaction. Mix the ingredients thoroughly until the hydroxide dissolves very well in the water. (You have to be really patient, it will take a while).
- Step 6.2. While you’re waiting for the lye to cool down a little bit, mix all of your oils (except the essential ones) and/or butter. Place them in a crock-pot whatever you are using instead. Afterwards, wait for all the butter to melt and keep stirring until everything is mixed together. When everything is blended perfectly, remove them from the heat source.
- Step 7. Use the thermometer to measure temperatures. The reaction will take place only if both solutions (the lye and the oils) have the same temperature. So you either heat one or cool the other with a container full of ice.
- Step 8. When both ingredients have the same temperature start mixing. Poor the lye solution into the oils and start stirring with the spatula for a couple of minutes.

- Step 10. Add your scents, essential oils and other extras you have at this point. Continue stirring gently until everything becomes homogeneous again.
- Step 11. Prepare your molds (they should be clean and disinfected).
- Step 12. Pour into molds your soap-to-be using the silicone spatula.
- Step 13. Cover every mold with plastic foil and put your soap-to-be in a dry, dark, airy place covered with blankets or towels to keep a high temperature.
- Step 14. Leave them for 24-48 hours after which you will remove the molds and let them in the same dry, dark and airy place, but without the blankets and towels this time, for about a month or two. This depends very much on the degree of solidification and on the oils you’ve used.
- Step 15. Clean everything using vinegar first! Only afterward you can use detergents or other cleaning products.
- Step 16. Reward yourself with a nice cup of tea, and relax. The soap is done!
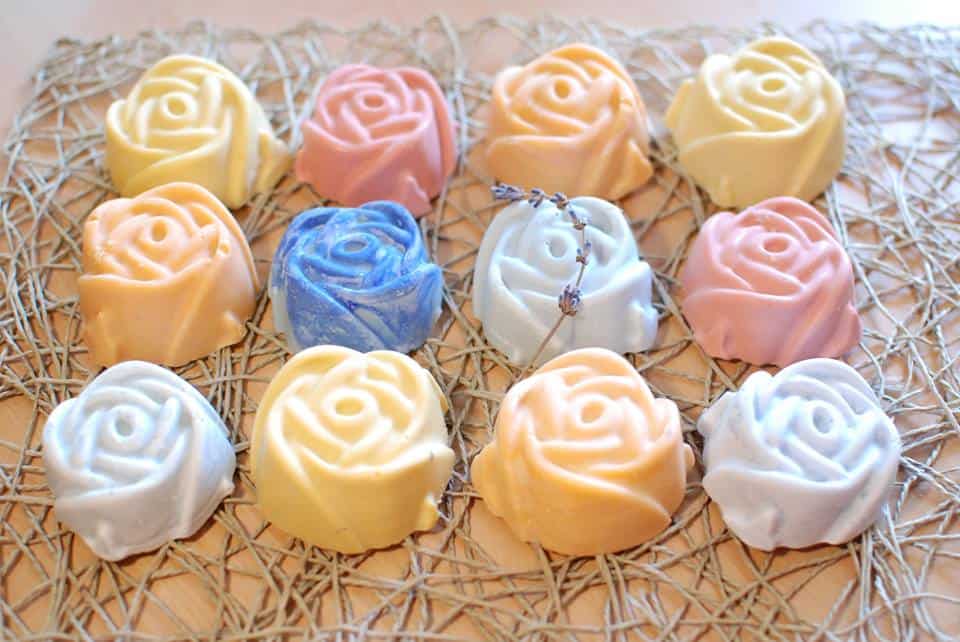
In terms of quantities, everything is based on the fats you want to use – you calculate everything from that. We’re not going to go into any specific recipes, but just as an example, for an oil base of 800 grams (28 oz), you will use around 250 grams of water (8.5 oz) and just over 100 grams of lye (4 oz). In terms of essential oils, about 50 grams (1.6 oz) will definitely do.
Hot process
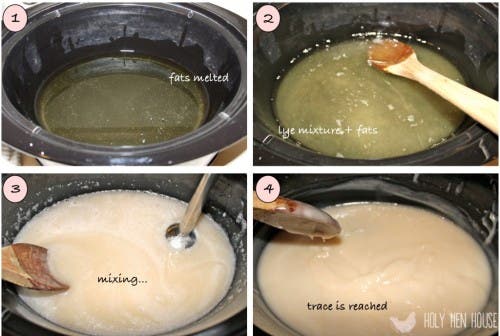
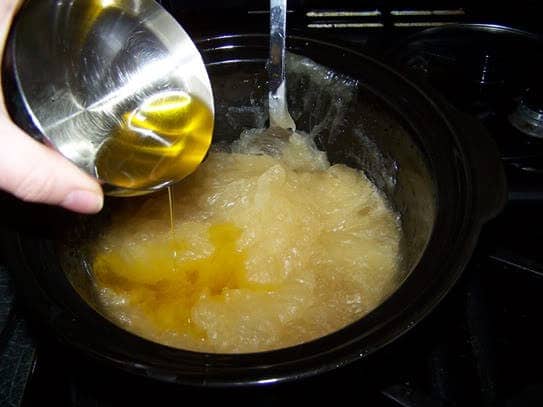
For the hot process, you should follow the steps from the cold process, but you don’t have to measure the temperatures. This time you will just put them in the crock pot and let the heat do its magic. You will also need to use your stick blender for a little bit, just at the beginning and the first stage, the trace will appear much quicker.
From this point on, the ingredients will separate sometimes, which is also normal, but you are looking now for a gel stage phase. From time to time use your spatula to mix the entire quantity of soap.
So how do you know when your soap is ready? For a trained eye, it’s ready when everything becomes a very thick gel-paste actually, but it is easier to use some pH test strips just to be sure. The soaps are alkaline which means that the pH can vary between 8 and 11; if it’s higher you should let it cook for a little bit more – otherwise, it will be too harsh on your skin. This happens when ingredients didn’t have enough time to fully react. It is actually easier with the strips because they will show you the exact stage of your soap and if the reaction between the lye and the oils is complete.
For this process, the essential oils will be used after you remove the pot from the heat.
Tips on soap-making
Try out a soap journal. Always put down your recipes, ingredients, observations and anything that might be important. This way you will improve your recipes and the quality of your soaps while also keeping track of your previous experiments.
At first, is easier to use a soap calculator to know the amount of each ingredient to be used in your soap. The calculator also has some pre-determined coefficients, like the one for the water as % of the lye, which is easier at first to use as it is, for safety reasons. Normally for the lye, the formula is 1 part lye and 2 parts of water, but because this usually depends on the quality, type, and amount of oils you use you should only try this on your own after you are a little bit more experienced.
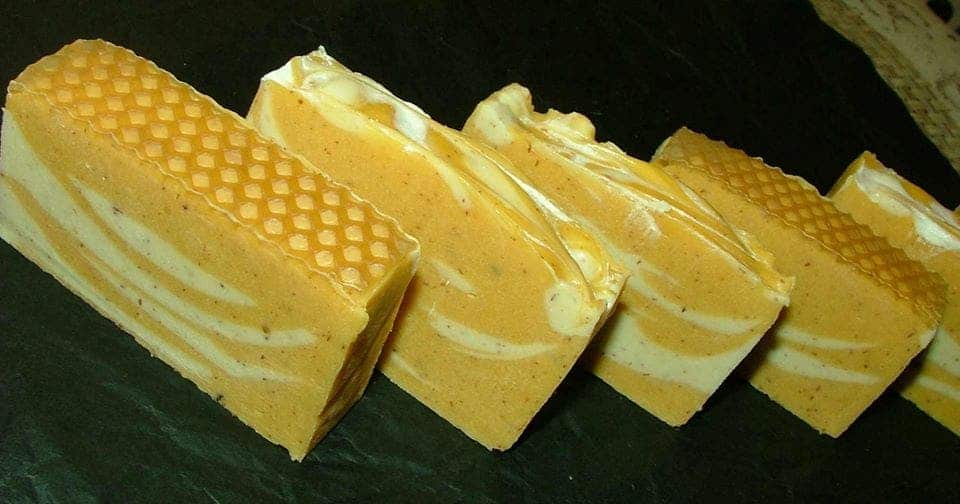
If you use your soap calculator, you will also see that the super-fat coefficient which actually means that your recipe will have some extra oils that will not become soap. They are very useful because they will make your soap softer and more nutritious. In the beginning, it’s better to use a coefficient of five (even though you will find out from experience that it can also be lower) because it’s of course better to have a little bit of extra oil than a little bit of extra lye that didn’t quite finish the reaction.
Remember to mark your date of processing, this one is for the cold process because you will need to know when you will be able to use it.
You can make your own cheap plant extracts instead of essential oils by putting some lavender (or some other dried plant) in a jar, filling it with olive oil/sunflower oil, and letting it in a dark place for about two weeks. It doesn’t smell as powerful as an essential oil but it surely gets all the other properties of the plants that might be really useful for different types of skins.
When buying sodium hydroxide try to buy one that’s as pure as possible – otherwise, the other elements in its composition will get involved in the reaction and we don’t want that, because you will end up with a low-quality soap bar.
Of course, you can use lard or other animal fats – many cultures have been doing this for centuries – but you have to realize that it will pass the smell onto your soap. Also, in my view, using animal products when you have such a large variety of eco-friendly oils you can use is quite cruel. It may be cheaper, but it is it really worth it? Think about it.
How you can make more eco-friendly soap
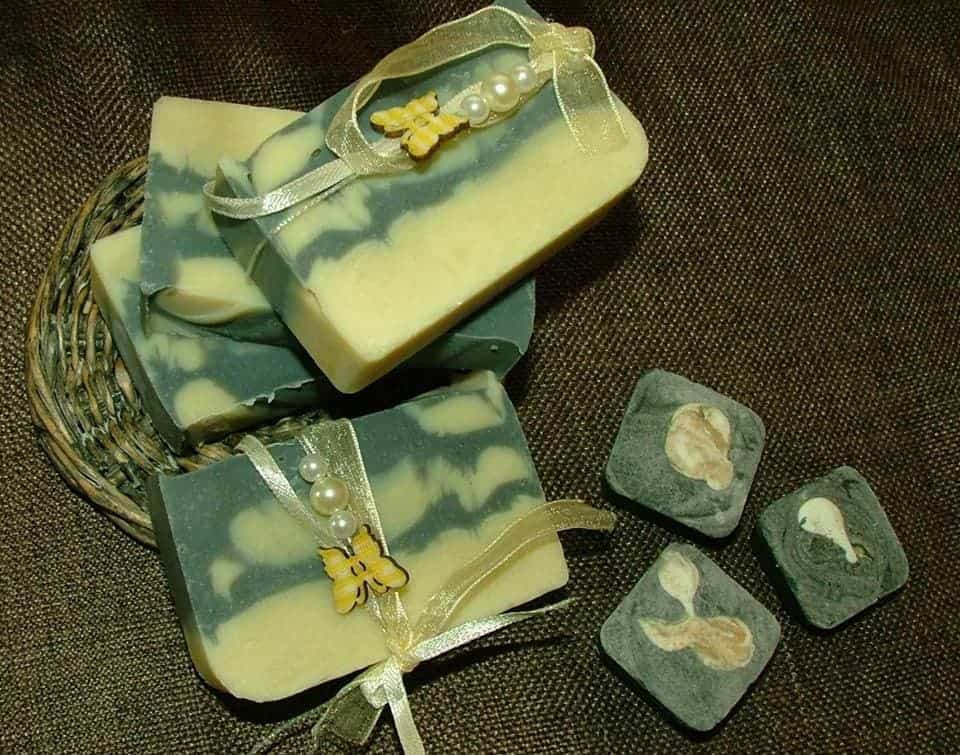
Soap making is a constantly evolving process, and after you’ve got the basics down, you can think about ways of “greening” your product. The goal is to end up with something that’s not only healthier and cheaper, but also eco-friendly.
If you ever wondered what can you do with the large amounts of oil that resulted from cooking, now you have a solution. Collect it in containers and use the hot process to make your own soap with few ingredients. It’s perfectly safe for skin use, although the smell isn’t going to be as nice. However, you can use this soap to wash your clothes, carpets, or anything that needs cleaning. It’s dirt cheap, and while the quality isn’t going to be excellent, it’s quite decent.
Homemade soap is healthier than the soaps you buy from the supermarket because of the quality of the ingredients you use and the lack of preserving agents and low-quality ingredients that are used in the industry – you control what goes inside, so you know it’s good. You can also customize your soap to tweak its properties according on your needs, skin type, and so on.
WARNING! The soap-making process can be a very fun science experiment to try at home, but be really careful with children, if they are involved, and also be sure that you have all the safety equipment for them. Also for kids maybe is better to use the melt-and-pour method which is much more safer.
From the precise measurements of ingredients to the careful manipulation of chemical reactions, making soap truly combines the art and science of creation. The best part of it is that this science can be very useful and enjoyable — it makes for great gifts, personalized soap bars for your family, or maybe even a side gig if you put your mind to it. Or it could simply be an experiment you try one time to see how it works. Either way, if you’ve made soap before, or if you’re considering it, share with us your experience and thoughts — we’d love to hear from you. Please feel free to share your experience and discuss in the comment section.
