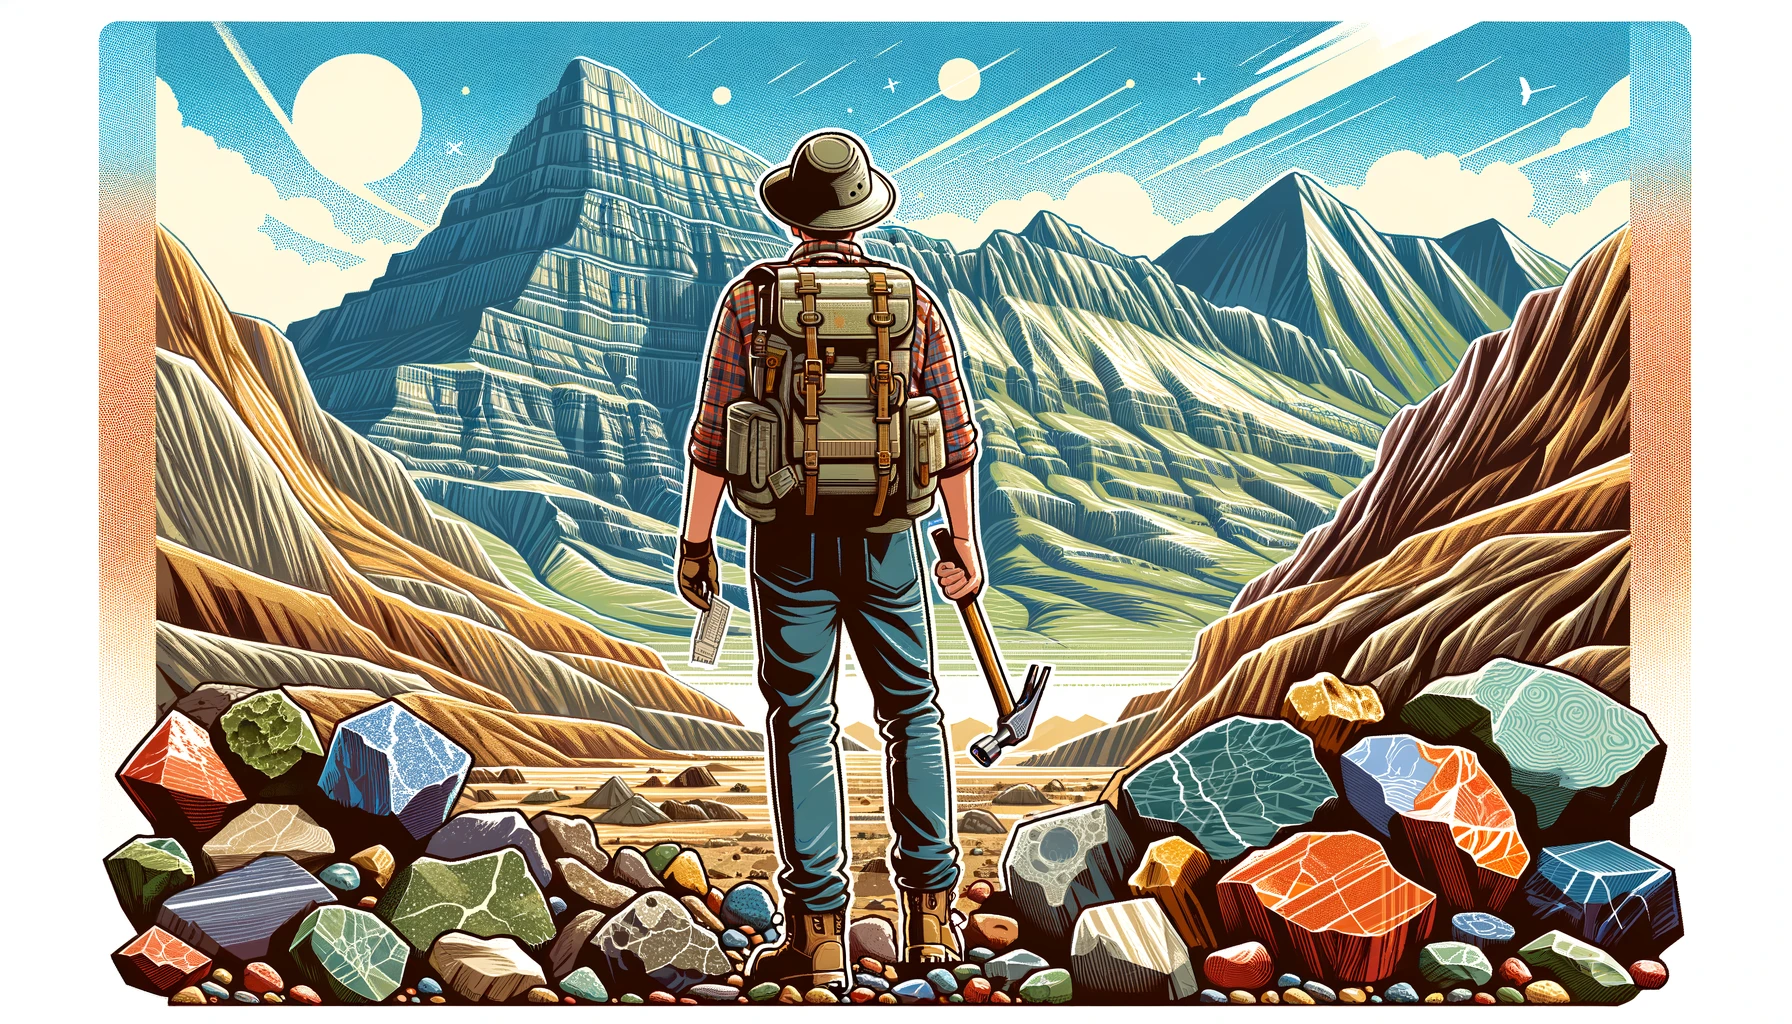
Few things can connect you to geology and science in general like collecting rocks. Rock collecting, a seemingly simple hobby, is a gateway into the fascinating world of geology. It can be an enjoyable pastime, a way to explore your local environment, and also a way to understand Earth’s history and the processes that shape it.
But as strange as it sounds, collecting rocks isn’t just about… collecting rocks. Here’s what I mean.
Basic geology
Collecting rocks isn’t about pretty pebbles or cute colors. To truly do some rock collecting, you need a simple, basic understanding of geology. I’m not talking do-a-course-get-a-degree knowledge — just the bits and basics of geology. Half the beauty is having an idea of what you’re looking at, even if you’re not sure.
Rocks come in a lot of different shapes and sizes, and each tells a unique story. But generally speaking, there are three main types of rocks:
- Igneous Rocks: Formed from cooled magma or lava, these rocks are primary evidence of Earth’s fiery interior. Examples include granite and basalt.
- Sedimentary Rocks: Created from particles of older rocks, as well as plant or animal debris, these rocks are like history books, recording ancient surface conditions. Sandstone and limestone are common types.
- Metamorphic Rocks: Born from transformation under pressure and heat, these rocks are the shape-shifters of the geological world. Marble and slate are metamorphic rocks that started as something else but changed under Earth’s immense forces.
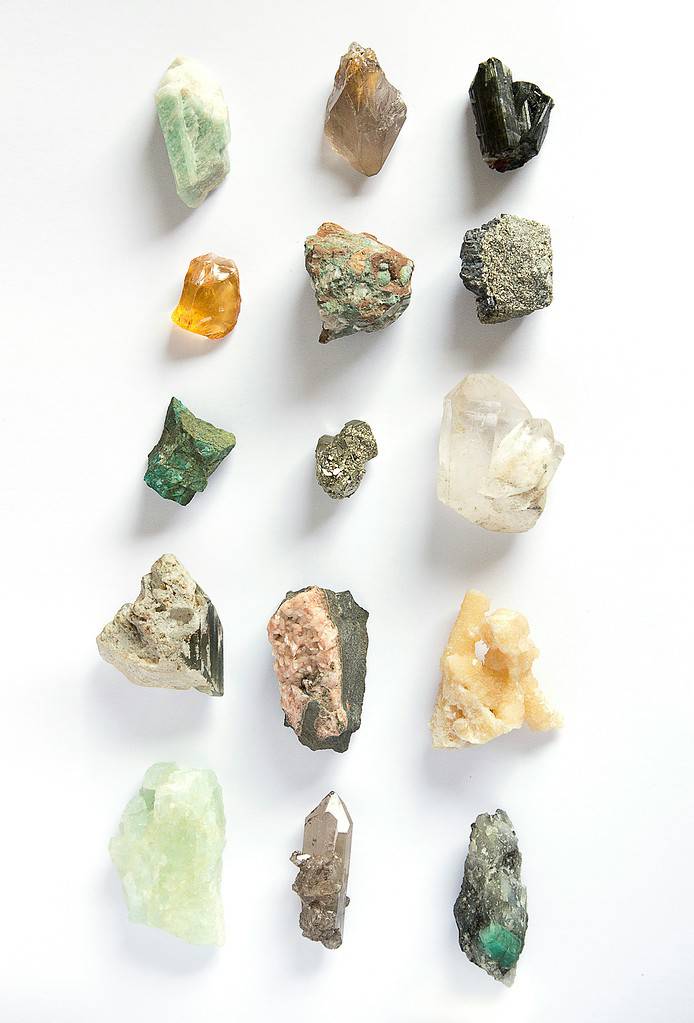
Rocks are composed of different minerals. Sometimes, this is obvious, as they show up in big crystals. Other times, it is not. Minerals are extremely diverse and although there are some common types of minerals, there’s a virtually an infinity of them.
This being said, it’s crucial to look up your local geology (or the geology of wherever you want to go rock collecting).
This research can provide valuable insights into the types of rocks and minerals you might find, their historical and scientific significance, and the best locations for finding specific specimens. Understanding the geological history of the region can also guide you in identifying the rocks you collect. Additionally, this preparatory step involves familiarizing yourself with any legal or environmental regulations regarding rock collecting in the area to ensure that your activities are responsible and sustainable.
How to look up the local geology
Just to be absolutely clear — you don’t have to do this step. You don’t have to do any of these steps. You can simply go out and look on the side of the road for rocks. That’s absolutely fine!
But a bit of research goes a long way, and if you want to look up the geological context, here’s where you can find it.
- Geological Maps: Start with geological maps of the area, which are available from various sources such as the U.S. Geological Survey (USGS) or similar organizations in other countries. These maps show the distribution, nature, and age of rock formations at the surface.
- Local Geological Surveys: Visit websites of geological surveys or departments in your region. They often provide detailed information about the local geology, including the types of rocks and minerals found in the area.
- Academic Resources: Check out local university or college websites, especially their geology or earth science departments. They might have publications or resources about the local geology.
- Library and Books: Local libraries can be a great resource for geology books, especially those focusing on the geology of your specific area or state. Look for field guides, which are particularly useful for rock collectors.
- Museums and Geological Centers: Visit local natural history museums or geological centers. They often have exhibits on local geology and staff who can provide information.
- Field Trips and Clubs: Consider joining a local rockhounding or geological club. These clubs often organize field trips and have members experienced in the local geology.
- Government and Environmental Agencies: Some regions may have specific government or environmental agencies that manage natural resources, including geological features. They can provide guidelines and permits if needed.
Tools for collecting rocks
You don’t need any tools to start collecting rocks. By that, I mean you can do it just with your bare hands. This being said a few basic tools can be of help. The tools include:
- Geologist’s Hammer: Essential for breaking and splitting rocks.
- Chisel and Goggles: For safe extraction and splitting of specimens.
- Field Bag or Backpack: To carry your finds and tools.
- Field Notebook and Pen: To record details of your finds.
- GPS or Maps: For navigating and marking locations.
- Magnifying Glass: To examine rocks closely.
Be careful when attempting to break off and split rocks. This can be dangerous! Don’t use any old hammer as you can destroy the hammer or cause unexpected damage.
Find cool places
You can find cool rocks in a lot of places. The best thing to do is to look up your local geology (as I mentioned in the previous step) and find potential hotspots. Always be careful! Sometimes, the coolest geological areas are unstable or potentially hazardous. Never, under any circumstances, go into risky places.
With this in mind, here are some of the places where you’re generally more likely to find cool rocks (and maybe even some fossils).
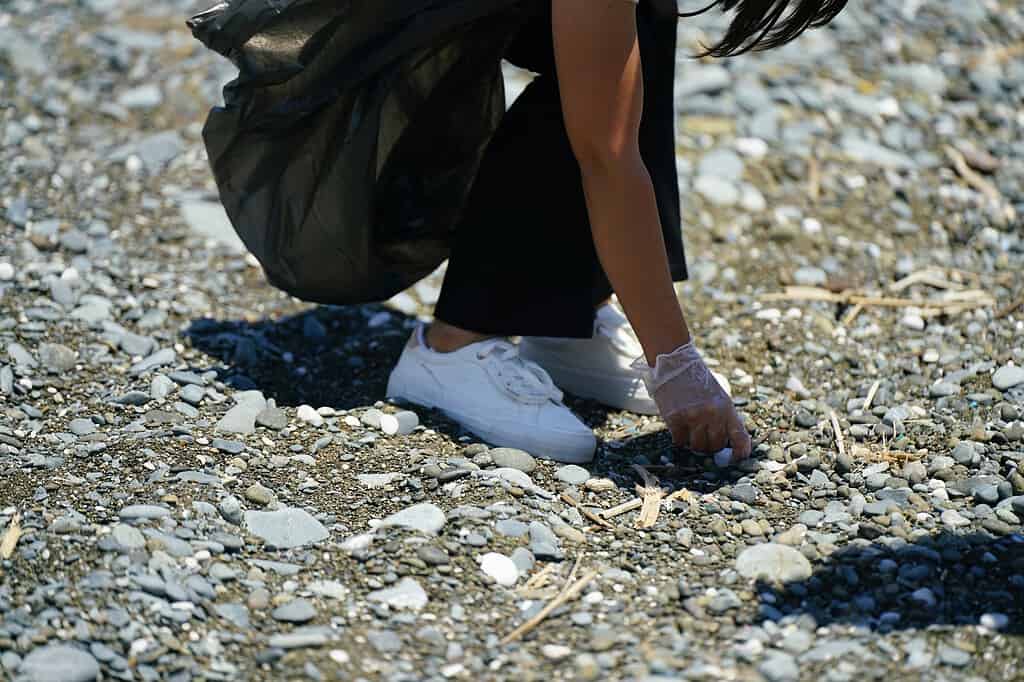
Riverbeds and Beaches
- Characteristics: These locations are ideal for beginners due to their accessibility and the variety of rocks polished by water.
- Types of Rocks: Look for smooth pebbles, quartz, agates, or even fossilized remains. Riverbeds can surprise you with sedimentary rocks containing imprints of ancient life.
Mountains and Cliffs
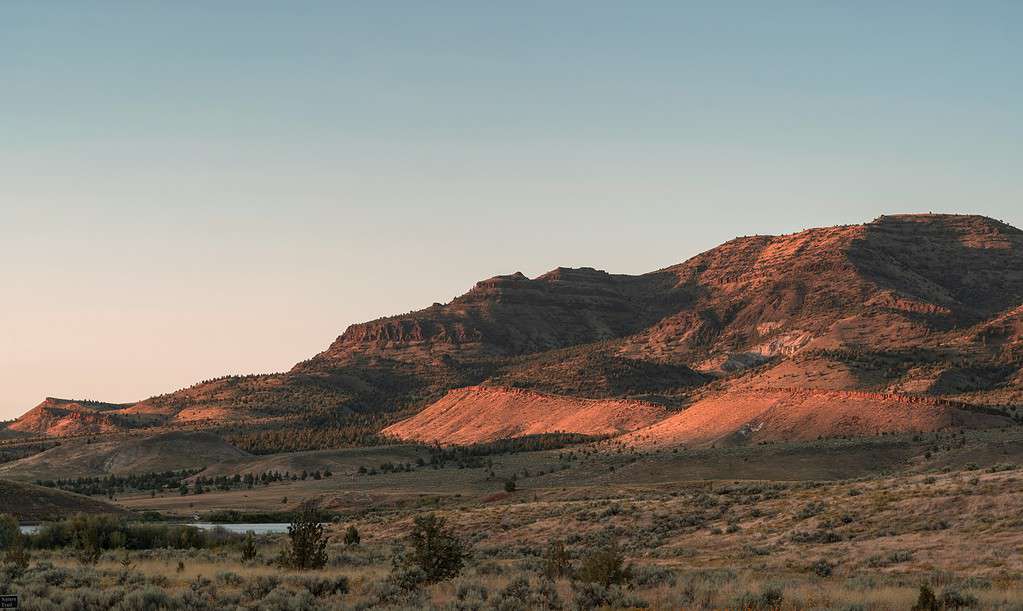
- Characteristics: These are hotspots for more adventurous collectors. Erosion often exposes hidden geological treasures.
- Types of Rocks: Mountains can provide igneous rocks like granite or metamorphic rocks like gneiss. Cliffs might reveal layers of sedimentary rocks.
Quarries and Mines (with permission)
- Characteristics: These man-made excavations can be rich sources of minerals and rocks, but safety and permission are paramount.
- Types of Rocks: Depending on the quarry type, you might find marble, slate, various crystals, or even semi-precious stones.
Your Backyard
- Characteristics: Often overlooked, your immediate surroundings can be a convenient starting point for new collectors.
- Types of Rocks: This depends greatly on your geographic location but expect a mix of local stones, and occasionally, something unexpected transported there by human or natural activities.
Additional Locations
- Road Cuttings: The exposed earth on the sides of roads, particularly in hilly or mountainous areas, can reveal interesting geological layers.
- Dry Creek Beds: In arid regions, these can be excellent places to find a variety of rocks, especially after a rain when new material is exposed.
Identification and Classification of Rocks
So, you’ve done your research, you’ve identified a promising place, you’ve got your tools. Now what?
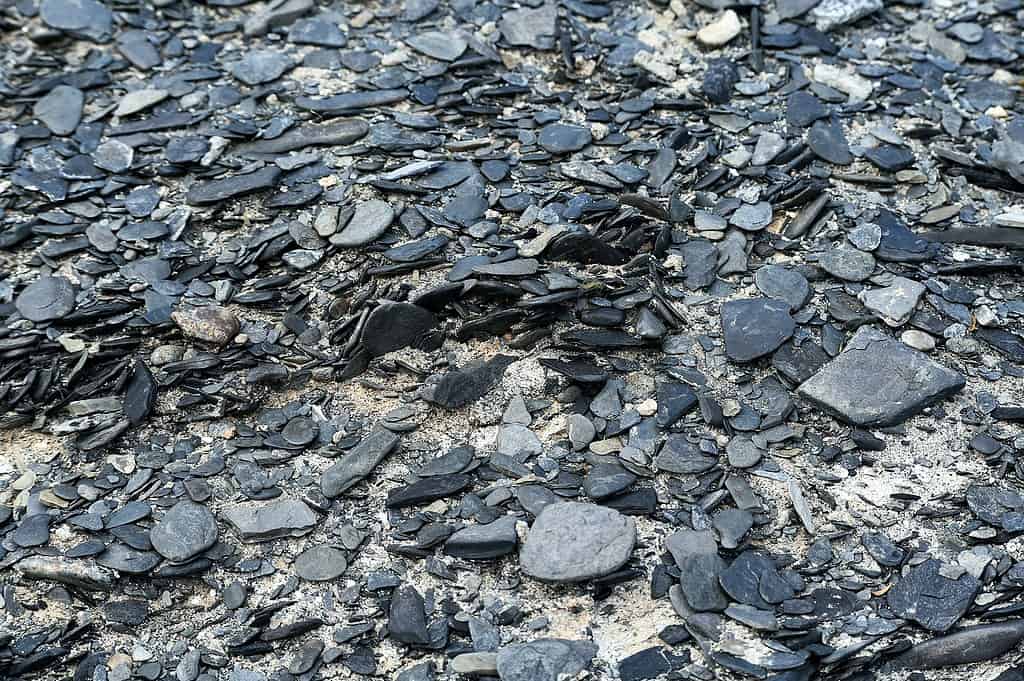
Well, look and try to understand what rocks you’re seeing. Identifying rocks can be challenging even for experienced geologists, but with so many tools and resources, you’ve got a lot of info that you can use. Here are the general steps toward identifying rocks:
- Examine the Color and Texture: These are the first clues. Igneous rocks tend to be grainy, sedimentary rocks often show layers, and metamorphic rocks can have a swirled appearance.
- Test Hardness: Use a simple scratch test. For instance, if a rock can scratch glass, it’s likely harder than quartz.
- Look for Specific Features: Crystals in igneous rocks, fossils in sedimentary rocks, or bands in metamorphic rocks.
- Use a Field Guide: A good rock identification guide can be invaluable.
Tips for Classification and Cataloging
Once you’ve identified your rocks, cataloging them is important:
- Label Each Specimen: Note the type, location, and date of collection.
- Photograph Your Collection: This helps in keeping a visual record.
- Maintain a Log Book: Record detailed observations and interesting finds.
- Use Online Resources: There are many apps and websites that can assist in identification and cataloging.
- Categorize by Rock Type: This helps in organizing and studying your collection.
Legal and Ethical Considerations
I should have perhaps mentioned this earlier on. After making sure you’re always safe, you should also make sure you’re not breaking any laws or harming the environment.
Collecting rocks is usually permissible and rarely a problem. But rarely doesn’t mean “never.”
Understanding Laws and Regulations
Rock collecting, while enjoyable, comes with legal responsibilities. It’s essential to:
- Know the Local Laws: In many areas, collecting rocks from national parks, protected areas, or private lands without permission is illegal.
- Seek Permission: Always get permission if collecting on private property.
- Adhere to Regulations: Some regions may have specific rules about the quantity and type of rocks that can be collected.
Ethical Collecting Practices
Ethical rock collecting ensures that the hobby can be enjoyed by future generations:
- Leave No Trace: Always collect in a way that minimizes the impact on the environment.
- Respect Geological Sites: Avoid collecting from scientifically important or culturally sensitive sites.
- Educate Others: Share your knowledge about ethical collecting practices.
Remember, responsible collecting is key to preserving both geological heritage and the environment.
Preserve your collection
If you’re like me, the odds are you’ll go on a quest to find one or two interesting rocks and come back with a bagful. Then the bag goes into a shelf for later storage and suddenly, you’re stuck with a bazillion rocks you need to sift through.
So don’t do that. Make sure the rocks you have and want to actually keep are displayed nicely and you can truly enjoy them.
Cleaning and Storing Rocks
Preserving the natural beauty of your rock collection is vital:
- Gentle Cleaning: Use mild soap and water for most rocks. For fragile or porous rocks, a soft brush and water are enough.
- Proper Storage: Wrap each rock in tissue paper or bubble wrap and store it in labeled boxes. Climate control is important for delicate specimens.
Displaying Your Collection
Showcasing your rocks can be as rewarding as collecting them:
- Display Cases: Use cases with compartments or shelves. Glass-fronted cases protect and display your rocks beautifully.
- Labeling: Include labels with each rock’s name, location, and date of collection.
- Creative Arrangements: Group by type, color, or formation process for an educational display.
A well-preserved and displayed collection not only looks impressive but also serves as an educational tool for you and your visitors.
A hobby that rocks
Rock collecting is more than just a hobby; it’s a journey into the heart of our planet’s history. Each rock, whether picked up from a riverbed or a mountain trail, tells a story of geological processes spanning millions of years.
By engaging in this fascinating hobby, you not only build a tangible connection to the Earth but also gain valuable knowledge — and of course, you can join local communities of like-minded enthusiasts. Whether for education, recreation, or scientific interest, rock collecting opens a window to the natural world, offering endless opportunities for discovery and wonder.


