Chemistry gets an undeserved bad reputation and it all starts in school — “mix an acid with a base and you get water and salts” is useful, sure, but not really catchy. People just aren’t that big on either water or salts. So can we nudge them to change their view of what is an undeniably awesome field of science? Is there a way to make chemistry a part of their life that they hold dear?
I say yes. The answer is one of its most useful known abilities — that of turning boring old food into booze. And we’re here to tell you how to make vodka — so you can get hammered, all in the comfort of your home. With science!
Brewing it up
While there are as many different processes as there are drinks, making any type of alcohol boils down to fermenting sugars. Vodka is awesome because it, along with moonshine, is probably the simplest spirit to make. The process discards all of those fancy steps such as aging; it can be made with virtually anything that ferments, and packs quite a punch. It also looks cool under a microscope. What else do you need? Let’s get down to it.

What you’ll need
[panel style=”panel-success” title=”The short version” footer=””]Foodstuffs to ferment, yeast, some containers and a still.[/panel]
Something to ferment — called the “mash.” This can be anything that contains sugar or starch. Potatoes, grain, or fruit all work; one distillery even figured out how to use wine. Depending on what you make your mash from (i.e. the starch and sugar content of the mash), you might have to add either enzymes (to break down starches into sugars) or sugar to the mix. Malted grains don’t require any added enzymes (as they’re already synthesized by the plant) and you can mix them into any mash as a source of enzymes.
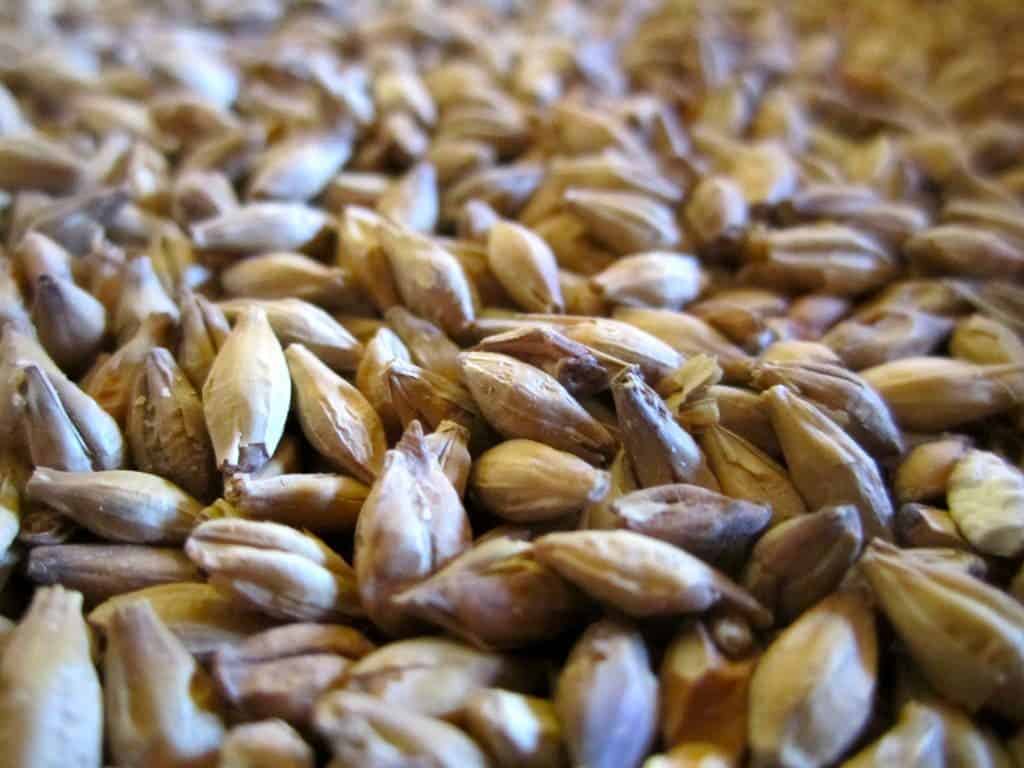
Image credits Wikimedia user Pierre-alain dorange.
Yeast — these are single-cell fungi that will be doing the heavy lifting. They will turn the sugars from the starting mixture into alcohol.
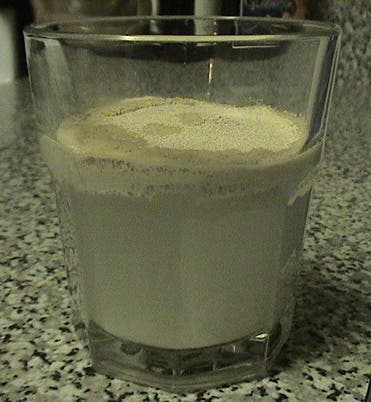
Image via flickr user terren in Virginia.
Containers, an airlock, water, a still, and some bottles — you’ll need either a big pot or several smaller ones in which to mix the mash with water and heat it, and a fermenting container to hold the resulting mixture. The airlock is a mechanism that allows fermentation gases to escape the container but doesn’t allow fresh air (and oxygen) to enter. You can buy one or make it yourself but it has to be solid enough to resist the pressure generated during fermentation. After fermentation, you’ll need to distill the liquid, and that’s where the still comes in.
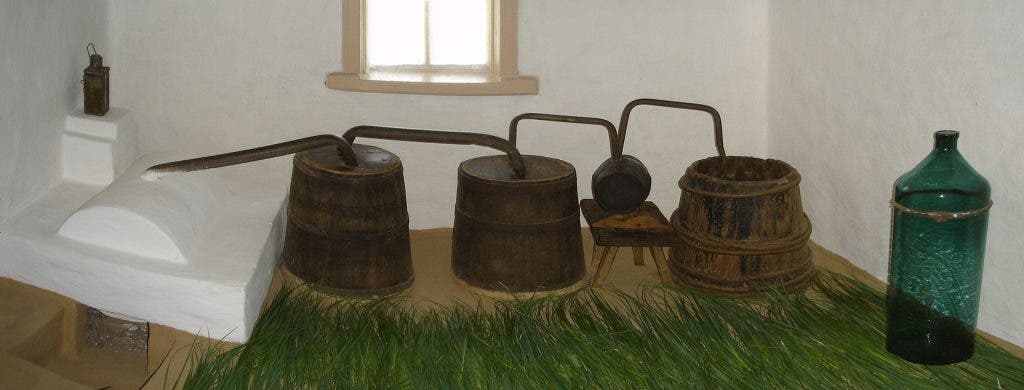
Image credits Wikimedia user Arne Hückelheim.
M.A.S.H.
[panel style=”panel-success” title=”The short version” footer=””]To make alcohol you need sugar. Starchy foods need to be boiled and require enzymes to break down starch chains. Don’t boil the enzymes or the yeast.[/panel]
The first step is preparing the mash. You can either start with molasses (or just sugar), fruit, or fruit juice. The latter ones are pricier but don’t require any preparing. Grain and potatoes are the cheapest option, but you’ll need to cook their starches into sugars. Starch is made up of polysaccharides, and while dogs have adapted to digesting it yeast has not — it needs monosaccharides to ferment.
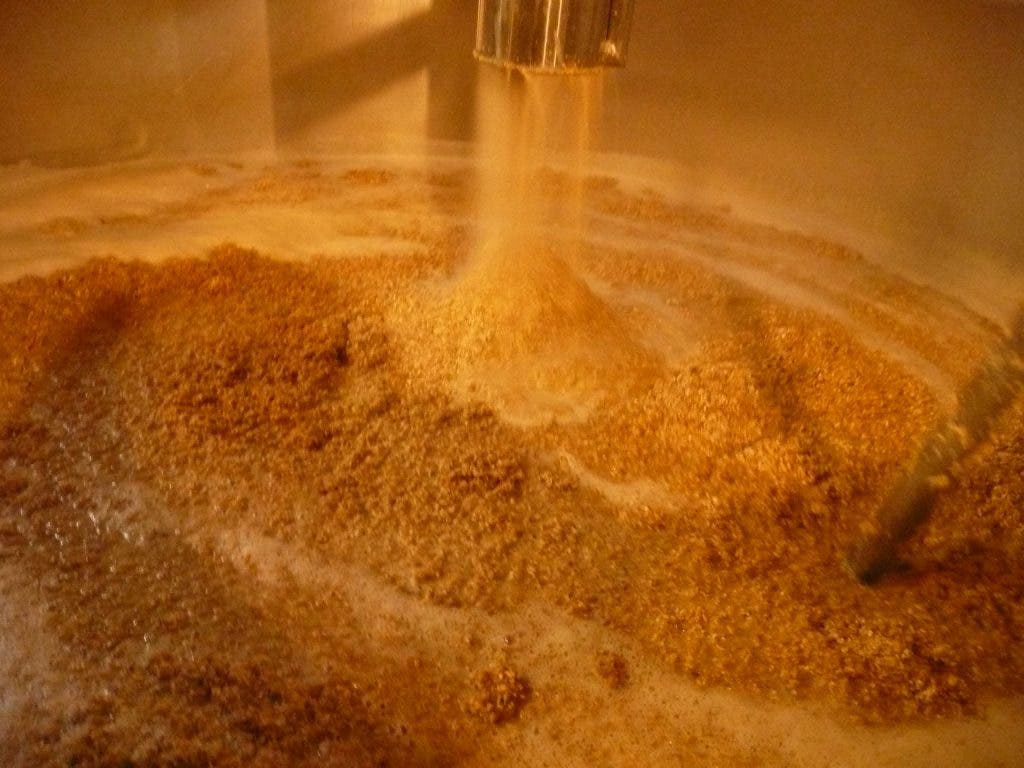
Image credits Flickr user epicbeer.
For a grain mash (wheat, barley, maize, or a combination of them) take a metal pot with a lid, fill it with water, and heat it up to around 165° F (74° C). As a rule of thumb, for a 10 gallons (38 l) pot you should use around 6 gallons (23 l) of water and 2 gallons of dry, flaked grain (7,6 l), then stir.
Too much heat will destroy the enzymes, so let the mix cool to between 155° F (68° C) and 150° F (66° C) then mix in one gallon of crushed grain malt. At this thermal point, the starches pass from the grains to the liquid which will become viscous or gelatinize. Let it rest for two hours, stirring occasionally. During this time the starch breaks down into sugars — as starch is basically made of long chains of simple sugars fused together, you should see the mash become less and less viscous as this happens. Before fermenting, let the mixture cool to 80° – 85° F (27° – 29° C), but don’t let the temperature drop too much below 80°F as this can spoil the mash.
Potatoes aren’t readily usable for making alcohol because they mostly store starch, not sugars. The plant’s roots also don’t produce the enzymes required to break starch down into sugars. So, for a potato mash, you’ll need to heat-treat the spuds before fermentation. Clean the tubers (you don’t need to peel them) and boil them for about one hour, until the mixture gelatinizes. Throw away the water, mash the potatoes, mix them with fresh tap water, and boil them again. For 10 pounds of potatoes, around 3 gallons of water will do. From here on, the process is exactly like the one above: Let the mixture cool to between 155° F (68° C) and 150° F (66° C), add either two pounds of crushed malted grains or store-bought enzymes, stir periodically over two hours, and let it cool overnight, keeping it at around 80° – 85° F (27° – 29° C).
You can even make a mixed mash (which is used in most brands of commercially-available vodka,) as long as you take care to heat-treat the mixture accordingly. Vodka doesn’t carry much flavor from the mash to the final brew, so you can choose any base for your drink and it won’t affect the taste that much.
Fermentation
[panel style=”panel-success” title=”The short version” footer=””]Strain the mash and place it in a fermentation container, which you need to keep at 80° – 85° F (27° – 29° C). Don’t seal the vessel, it could explode.[/panel]
This is the part where alcohol actually gets produced. Through fermentation, the yeast will eat up all the sugar in the mixture, breaking it down for energy and churning out CO2 and alcohols.
It’s recommended that you sterilize the container before fermentation so that there’s only your yeast left to metabolize the mix. You can use unsterilized containers, but the process will be messier — resulting in unwanted flavors and alcohols being produced by the action of other yeast stains and bacteria. You can buy sterilizing compounds in homebrew stores or online. You can also do a decent job sterilizing equipment by placing it in boiling water.
Strain your mash with a fine mesh strainer and pour the liquid part into the vessel. Try to splash it around while you do this so that it aerates — the yeast initially needs some oxygen to grow before producing alcohol. Hydrate the yeast with the appropriate amount of water and mix it into the vessel (use a sanitized spoon). Higher quality yeasts (called distiller’s’ yeast) will ferment more cleanly and produce a relatively low amount of unwanted alcohols.
Ok, so you’ve got your fermentation container all set up, time to seal it. You can use store-bought stoppers or make your own — lids or drilled rubber stoppers all work. Just be careful not to completely seal the vessel as the yeast will generate a lot of CO2, building up pressure in the container — it might even explode. So fix an airlock to lids or stoppers.
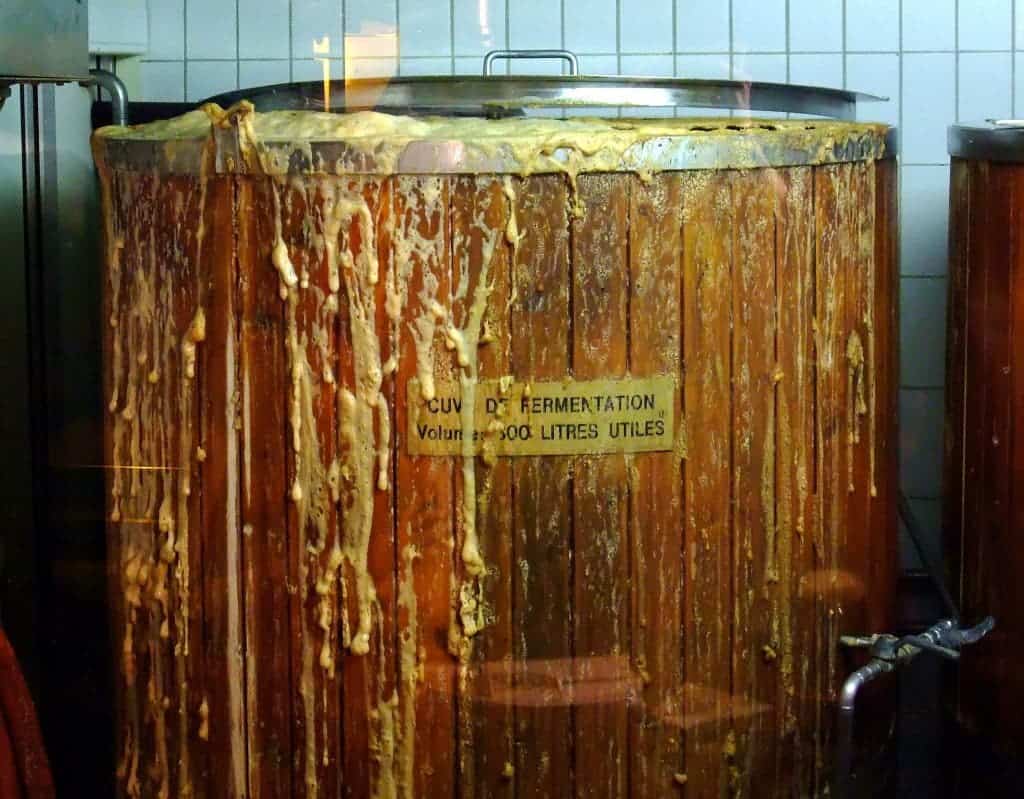
Image credits Flickr user James Cridland.
Keep the liquid at around 80° – 85° F (27° – 29° C) during fermentation for the best results. If you’re gonna use an airlock, you should see it bubbling during active fermentation, which will reduce or even cease as the sugars in the mix get broken down to alcohol.
Distillation
[panel style=”panel-success” title=”The short version” footer=””]Place the fermented liquid in the still, and heat to 173° F (78.3° C), but keep it under 212° F (100° C). Throw away the heads and tails of your vodka, as they contain harmful substances. Drink the body.[/panel]
After fermentation, the liquid (called the “wash”) basically fills all the criteria for booze — but it’s not really palatable, or safe to drink. Siphon it out of the fermentation vessel into a clean, sterilized container. Leave the yeast residue behind, or it will scorch and clog up your still. You can filter the wash before distillation if you want.
A still is a device that can separate liquids with different boiling temperatures. The basic idea is to heat the mixture above the boiling point of alcohol while keeping it under the boiling point of water. Some water will still evaporate, but as the vapors condense a large part of it trickles back into the boiling chamber, and a higher-alcohol content liquid is produced.
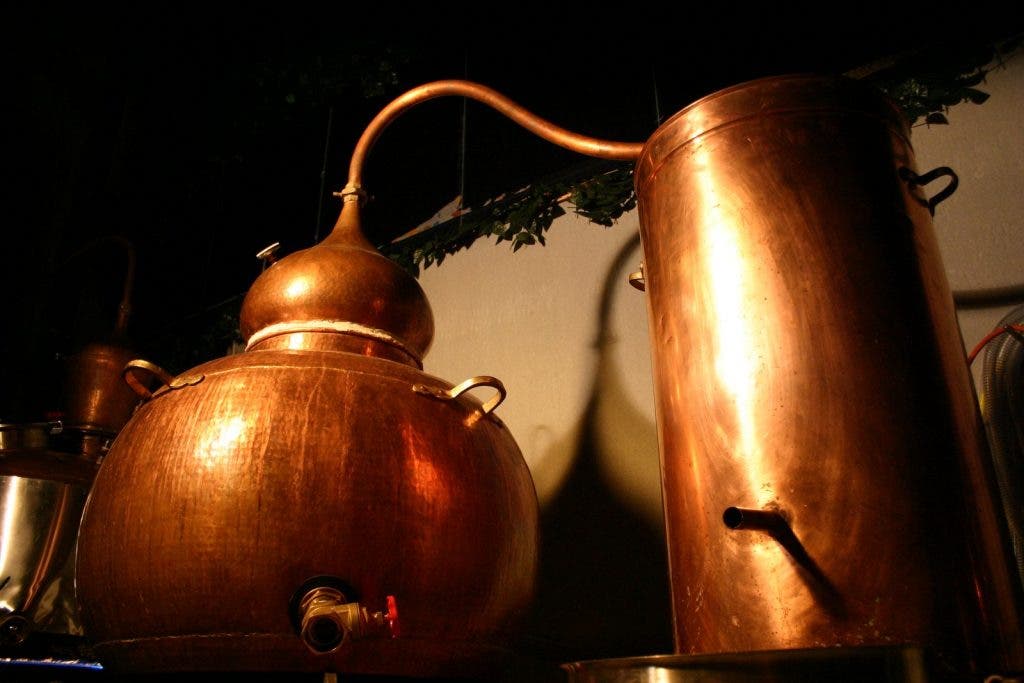
Image credits Wikimedia user Bitterherbs1.
There are two types of stills you can use: pot and column stills. Both work using the principle above, but column stills are more efficient (also more complex and expensive). The main difference between the two is that column stills have a longer condensation/distillation chamber directly above the boiling vessel, so a larger part of unwanted vapors trickle back down and not in the final brew. Pot stills, however, are easier to build (they’re basically pressure cookers with tubing attached to them) and need less cooling as the distillation chamber can be completely submerged in water.
Fun fact: column stills are very similar to the installations oil refineries use in cracking or fractional distillation — the process by which petrol, diesel, lamp oil, and other finished products are created from crude oil. In fact, the same principles that go into distilling vodka are used to make these products.
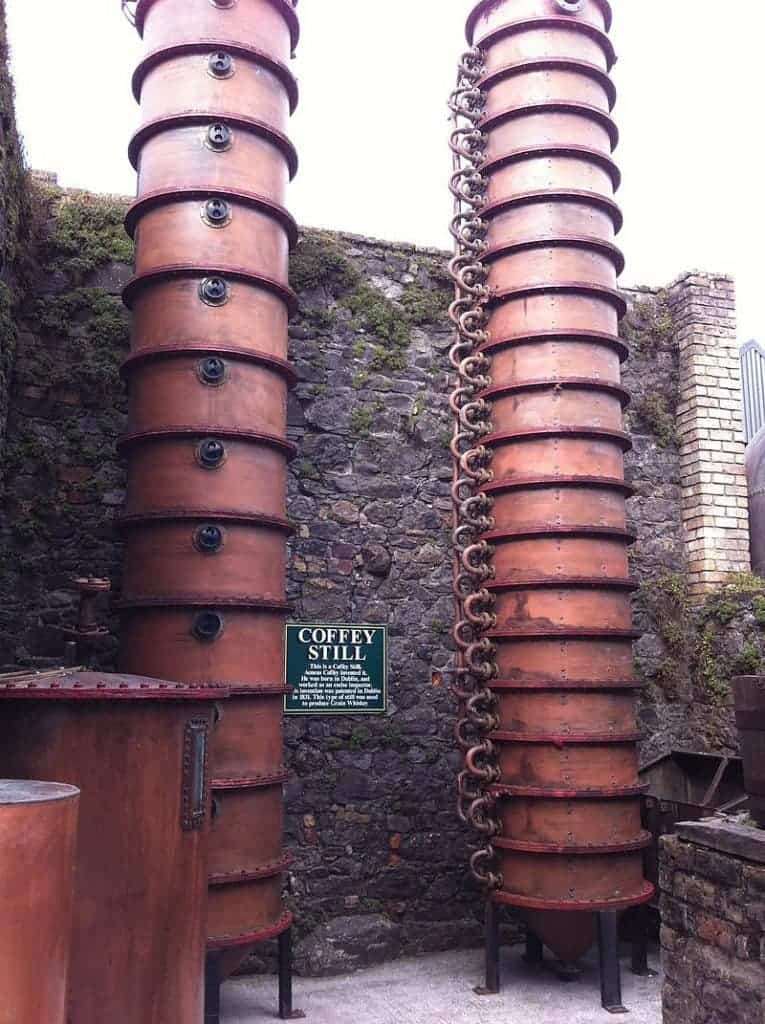
Image via Wikimedia user HighKing.
So you bartered, begged, or bought your way to a still. You have your wash all washy and ready. Here’s what you have to do:
Heat the wash to 173° F (78.3° C), but keep it under 212° F (100° C) or the water will also start to boil. Liquid will start to steadily drip from the still throughout distillation, but you don’t want all of it. Throw away the “heads,” the first resulting brew, as this is very rich in harmful volatile chemicals such as methanol. For 5 gallons (19 l) of wash, the heads are the first 2 ounces (30 ml) of brew (throw away a bit more just to be on the safe side).
Next comes the “body” which is the distillate that contains ethanol (the nice kind of alcohol), water, and other compounds. If using flowing water to cool the still, you can adjust the flow to control the speed and quality of distillation. Aim to get around two or three teaspoons every minute from the still for the best quality results. You can make it faster but you’ll get more impurities in your drink. This is, in fact, vodka. Bottle it up!
Over time the temperature in the boiling chamber will slowly rise towards 212° F (100° C) no matter what you do. The body of the brew will be distilled by now, and the process will result in the “tails,” which are again harmful and should be discarded.
Enjoy
Congratulations! You now know how to make your own vodka, and are a bit of a fledgling chemist. You can add your own little touches to the process — toy a little with the composition of your mush, filter your vodka using carbon filters, or even distil it again to get a stronger brew. Explore, experiment, innovate.
And at the end of the day, you get to enjoy a nice shot of vodka.

Image via Wikimedia.


